Arduino proximity sensors are affordable devices that can detect the presence of objects, within their range. Whether you’re looking to identify a person, a pet or even a tiny insect creating your own Arduino proximity sensor is an fulfilling endeavor. In this guide we will delve into all the information about Arduino proximity sensors, including their functionality and a step by step guide, on constructing one.
What is an Arduino Proximity Sensor?
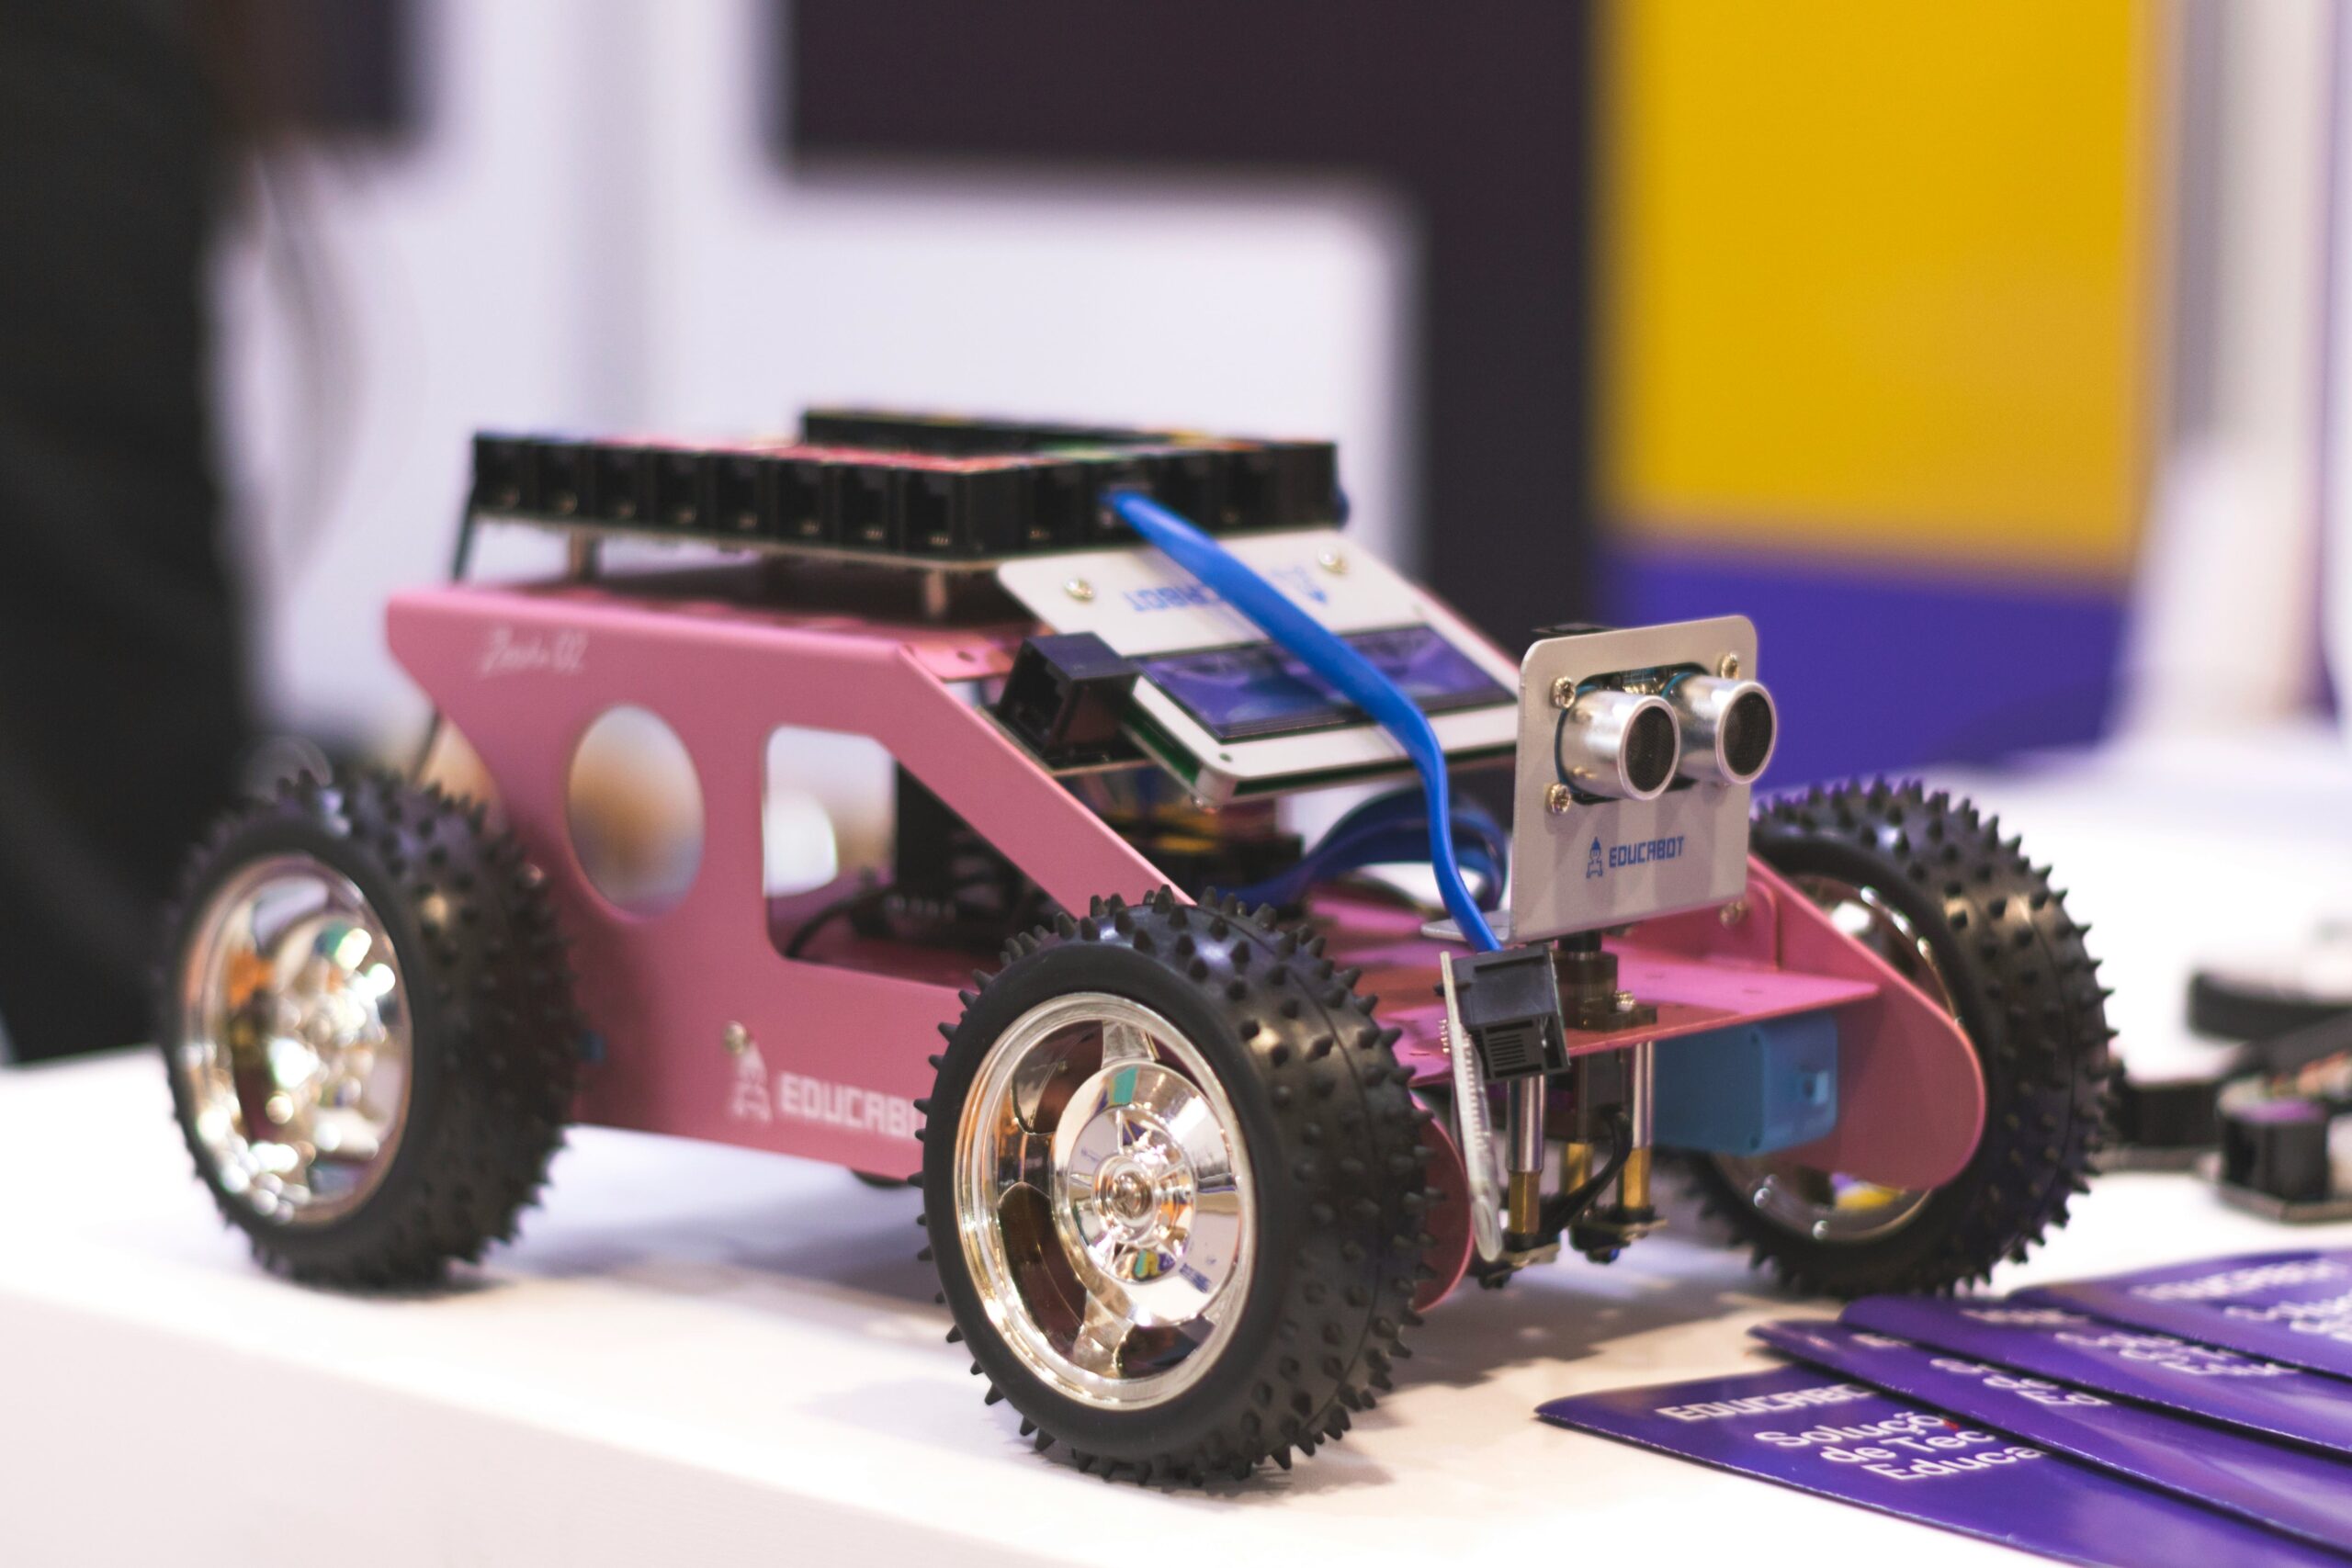
An Arduino proximity sensor is a device that can detect the presence of objects nearby. It comprises an infrared proximity sensor connected to an Arduino board and a breadboard. The sensor emits infrared waves. Calculates the time it takes for those waves to bounce back after hitting an object. Based on this measurement the sensor can determine how close the object is.
Hardware Components Needed
To build an Arduino proximity sensor, you will need the following hardware components:
- Arduino board (e.g., Arduino Uno or Arduino Nano 33 BLE Sense)
- Infrared proximity sensor module (e.g., HC-SR04 Ultrasonic Sensor or APDS9960 Sensor)
- Breadboard
- LED (preferably RGB LED)
- Resistors (200-1000 ohms)
- Jumper wires
- USB cable for connecting the Arduino board to the computer
Wiring the Proximity Sensor
The way you wire the proximity sensor will vary based on the sensor you’re using. However the basic idea is to connect the power (VCC) and ground (GND) pins of the sensor, to their corresponding pins on the Arduino board. Additionally you’ll need to link the output pin of the sensor to an input pin, on the Arduino board.
Sensor Pin
Arduino Pin
VCC
GND
Output
5V
GND
digital Pin
Programming the Proximity Sensor
After setting up the hardware the next step is to write a program, for the Arduino board that can interpret the output from the proximity sensor and adjust the LED accordingly. The programming language used for Arduino is based on C/C++, which makes it user friendly, for both beginners and experienced programmers.
Here is a basic example of Arduino code to read the proximity sensor output and control the LED:
const int sensorPin = A0;
const int LEDPin = 13;
void setup() {
pinMode(LEDPin, OUTPUT);
Serial.begin(9600);
}
void loop() {
int sensorValue = analogRead(sensorPin);
Serial.println(sensorValue);
if (sensorValue > 500) {
digitalWrite(LEDPin, HIGH);
} else {
digitalWrite(LEDPin, LOW);
}
delay(100);
}
In this code, we read the analog value from the proximity sensor and print it to the serial monitor. If the sensor value exceeds a certain threshold (500 in this example), the LED connected to pin 13 will turn on; otherwise, it will remain off.
Understanding Proximity Sensor Readings
Proximity sensors give us information, about the distance, between the sensor and the object it detects. This information can be presented in ways like analog values or digital signals. It’s crucial to adjust your proximity sensor to guarantee readings for your specific use case.
The interpretation of proximity readings can vary depending on the sensor and its designed detection range. Certain sensors offer readings while others present values that indicate particular distance ranges. To determine the thresholds for your project it is essential to have an understanding of your proximity sensors range and resolution.
Applications of Arduino Proximity Sensors
Arduino proximity sensors have a wide range of applications. Here are some common uses:
- Object detection: Proximity sensors have the capability to identify the existence of objects, within a region. For instance they can be employed to keep track of whether an item or individual has entered a zone.
- Object tracking: Proximity sensors have the ability to monitor and detect the movement of objects that are within their designated range. This technology proves to be highly beneficial, in manufacturing industries as it helps prevent any collisions, between vehicles or machinery.
- Security systems: Security systems often utilize proximity sensors to keep track of proximity readings. One practical application is installing them in parking lots to determine whether a parking space is available or already occupied.
- Mobile devices: Proximity sensors are widely utilized in smartphones to facilitate functions like dimming the screen when the device is brought near the users face.
- Fire and color detection: Fire detection systems and color calibration applications can also make use of proximity sensors.
Troubleshooting and Tips
When building and using Arduino proximity sensors, you may encounter some common issues. Here are a few troubleshooting tips:
- Check the wiring: Make sure that you have correctly connected all the sensors to the Arduino board. Take a moment to verify the pin assignments and ensure that the power and ground connections are firmly secured.
- Calibrate the sensor: It’s important to make sure the proximity sensor is properly calibrated for readings. You can make adjustments, to the potentiometer. Follow the calibration instructions provided by the manufacturer of the sensor.
- Test in different environments: Proximity sensors can have their sensing abilities influenced by factors, like ambient light or electromagnetic interference. It’s important to test the sensor in environments to get an understanding of its limitations and make necessary adjustments, to your project accordingly.
- Use appropriate thresholds: Try out threshold values to find the optimal proximity range, for your application. Adjusting these thresholds can assist in minimizing instances of detections or missed detections.
Conclusion
Creating a proximity sensor using Arduino can be a fulfilling endeavor that enables you to identify the existence of objects within a distance. By comprehending the sensors functionality establishing the wiring connections and programming the Arduino board accurately you have the opportunity to develop your personal proximity detection system. Proximity sensors offer versatility. Can enhance a multitude of projects. Delve into the applications. Let your imagination run wild with Arduino proximity sensors!
Remember to have fun and experiment with different components and configurations to suit your specific needs. Happy building!