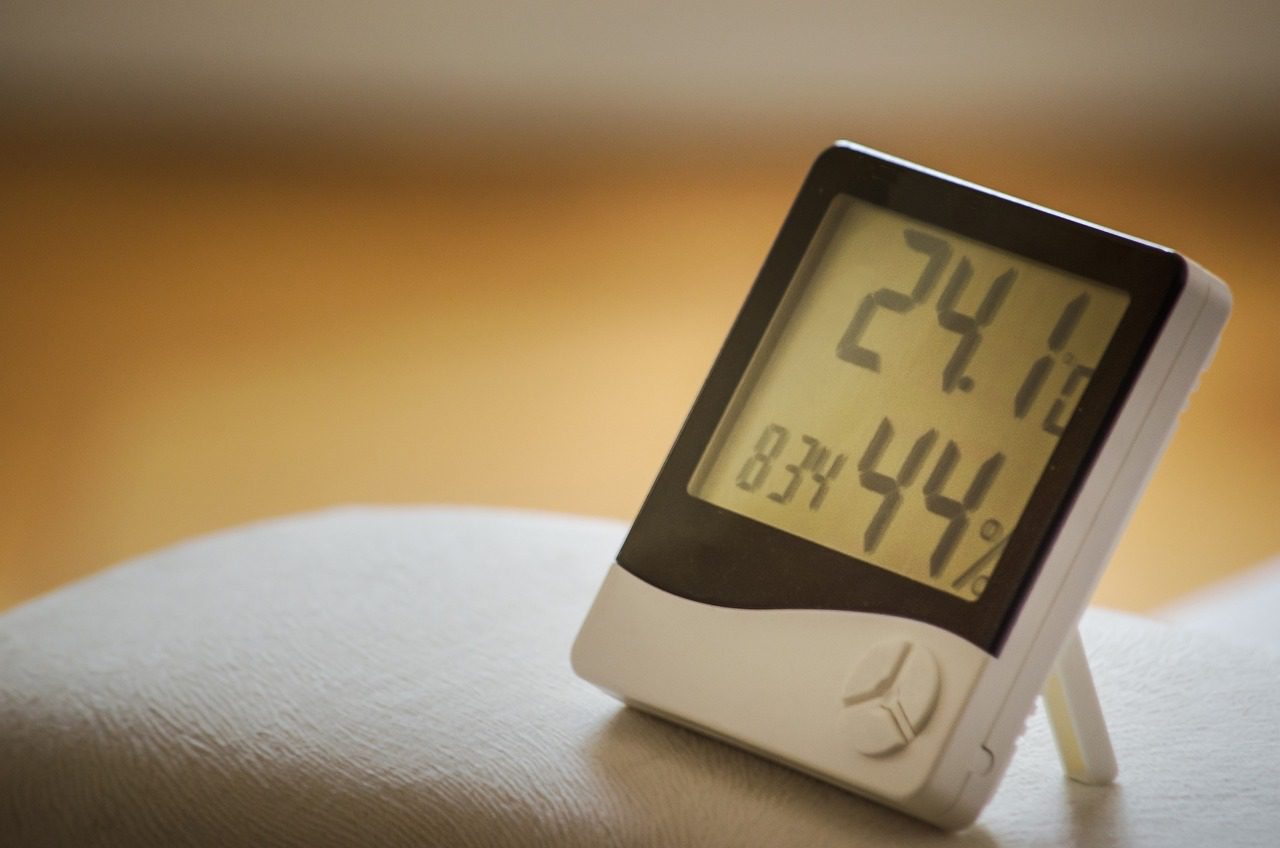
In our busy society it has become crucial to have monitoring and control systems, in place for various purposes. One such purpose is keeping track of the temperature and humidity levels in a room or any given environment. Thanks to advancements setting up a WiFi enabled temperature and humidity sensor has become more accessible than before. In this guide we will take you through the step, by step process of assembling and configuring a WiFi temperature and humidity sensor enabling you to monitor and manage the air conditions from a distance.
Understanding the Components
Before we dive into the setup process, let’s familiarize ourselves with the essential components required for assembling a WiFi temperature and humidity sensor. These components include:
- Breadboard – 1 pc.
- IoT platform ESP-WROOM-32 DevKit v1 – 1 pc.
- Male to male jumper cable – 3 pcs.
- DHT11 humidity and temperature sensor – 1 pc.
- USB-micro USB cable.
Assembling the Device
Now that we have all the necessary components, let’s start assembling the WiFi temperature and humidity sensor. Follow these steps:
- Connect the ESP-WROOM-32 DevKit to the breadboard using the jumper cables. Ensure that the connections are secure.
- Connect the DHT11 sensor to the breadboard, making sure to connect the appropriate pins to the ESP-WROOM-32 DevKit.
- Use the USB-micro USB cable to connect the ESP-WROOM-32 DevKit to your computer.
Configuring the Firmware
Once the device is assembled, the next step is to configure the firmware. Follow these steps:
- Log in to your account on the vendor’s website.
- Add the ESP-WROOM-32 microcontroller as a new product.
- Enter the necessary details and upload the icon for the device.
- Add the firmware and paste the provided code into the firmware window.
- Save the configuration and build the firmware for the test device.
- Download the firmware and extract the files.
Flashing the Firmware
With the firmware ready, it’s time to flash it onto the ESP-WROOM-32 microcontroller. Follow these steps:
- Connect the ESP-WROOM-32 DevKit to your computer using the USB cable.
- Erase the microcontroller’s memory using the provided command.
- Wait for the memory to be erased, then run the firmware installation command.
- Once the installation is complete, the device will automatically connect to the platform.
Configuring the Mobile Application
Now that the firmware is installed, it’s time to configure the mobile application. Follow these steps:
- Open the vendor’s mobile application on your smartphone.
- Log in using your email and password.
- Verify that the device is listed in the app and that you can control the LED on the board.
- Customize the appearance of the application and arrange the widgets to your liking.
- Explore the features of the mobile application, such as accessing historical data and controlling the device remotely.
Advanced Configuration
To further enhance the functionality of the WiFi temperature and humidity sensor, you can explore advanced configuration options. These options include:
- Enabling historical data collection for temperature and humidity readings.
- Adding units and boundaries for the vertical axis on the temperature and humidity graphs.
- Customizing the telemetry screen in the mobile application.
- Configuring additional widgets and layouts in the mobile application.
Monitoring and Control
With the WiFi temperature and humidity sensor set up and configured, you can now monitor and control the air conditions remotely. Use the mobile application to:
- View real-time temperature and humidity readings.
- Receive instant alerts if the temperature or humidity exceeds predefined thresholds.
- Control the device remotely, such as turning the LED on or off.
Benefits and Applications
WiFi temperature and humidity sensors offer numerous benefits and find applications in various industries. Some of the key benefits and applications include:
- Remote monitoring of air conditions in homes, offices, and industrial settings.
- Energy efficiency optimization by adjusting heating and cooling systems based on real-time readings.
- Data logging for analyzing temperature and humidity trends over time.
- Integration with other IoT devices and systems for smart home or industrial automation.
Conclusion
Setting up a WiFi temperature and humidity sensor is quite easy. It enables you to monitor and manage the air conditions in any setting, from a location. By following the step by step instructions provided in this guide you’ll be able to assemble, configure and utilize a WiFi temperature and humidity sensor. Embrace the convenience and reassurance of being able to monitor and control air conditions regardless of where you’re, in the world.

